

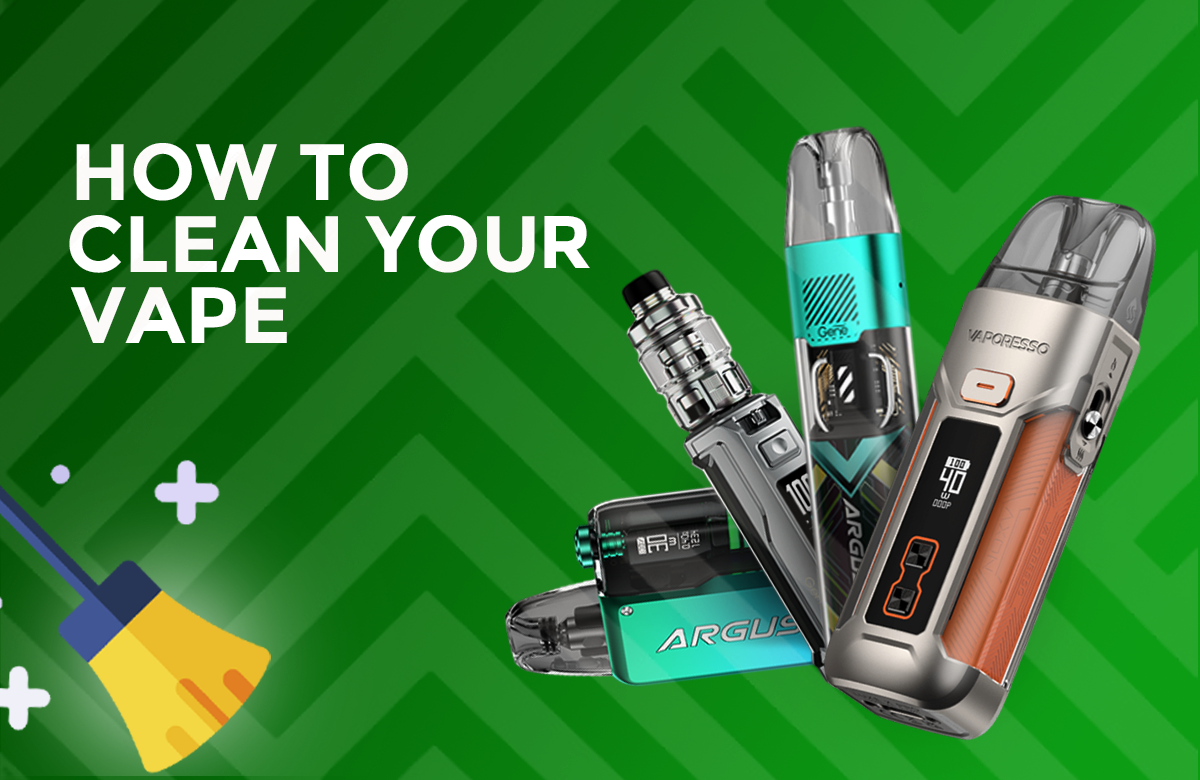
Cleaning your vape regularly is necessary for its performance, hygiene, and longevity. In this detailed guide, we’ll walk you through the steps for cleaning different components of your vape device, providing it remains in top condition.
Why Clean Your Vape?
Regular cleaning ensures that your vape looks good and prevents the buildup of residue, bacteria, and germs. This maintains hygiene and prevents any unpleasant flavours or experiences while vaping. Also, proper cleaning can extend your device’s lifespan by preventing damage caused by dirt or e-liquid buildup.
Supplies You’ll Need
Before you start cleaning your vape, gather the following supplies:
- Paper towel, kitchen roll, or tissue
- Clean water (preferably warm)
- Optional:
- Washing up liquid
- Antibacterial cleaner
- Cotton buds
- Alcohol
Cleaning Your Vape Tank
- Disassembly: Begin by disassembling your vape tank. Unscrew the mouthpiece, coil, glass, bottom, and top sections. Be careful not to lose any rubber O-rings.
- Rinsing: Rinse each component thoroughly under warm tap water. For a deeper clean, soak the components in warm water mixed with a small amount of washing-up liquid.
- Drying: After rinsing, ensure all components are dehydrated. Use a paper towel or kitchen roll to dry each part thoroughly.
- Reassembly: Once dry, reassemble the tank, ensuring all components are tightly screwed together. Prime the coil and refill the tank with your preferred e-liquid.
Optional: To remove stubborn flavours, soak the tank components in rubbing alcohol or vodka before rinsing and drying.
Cleaning a Vape Pod
- Built-in Coil Pods: Focus on cleaning the exterior using kitchen roll for pods with built-in coils. For deeper cleaning, you can also use a mild washing-up liquid or antibacterial cleaner.
- Replaceable Coil Pods: Remove the coil and rinse the pod under warm water to remove any dirt or e-liquid residue. Thoroughly dry the pod before reinserting the coil.
Cleaning Your Vape Kit
Use a cloth or kitchen roll dampened with antibacterial cleaner to wipe down the entire device, including the main body and buttons. Ensure the device is completely dry before use.
Cleaning the 510 Connection
Clean the female 510 thread on your battery device using a kitchen roll or a cotton bud. Remove any e-liquid or debris to ensure a clean connection between the tank and the battery.
Cleaning a Drip Tip
Rinse removable drip tips under warm tap water. For a deeper clean, soak them in warm water with a small amount of washing-up liquid. Thoroughly dry the drip tip before reinserting it into the tank.
Cleaning a Disposable Vape
Wipe the disposable vape’s mouthpiece with a tissue to remove dust or debris. Consider using the antibacterial spray for overall cleaning. Ensure the device is completely dry before use.
Cleaning a Rebuildable Coil
- Disassembly: Disassemble the rebuildable coil to access the coil and wicking material.
- Cleaning the Coil: Remove the old cotton and pulse the coil until it glows orange. Use ceramic tweezers gently strum the coil, removing any buildup or residue.
- Reassembly: After cleaning, reassemble the rebuildable coil with new cotton and liquid. Allow the cotton to saturate for a few minutes before vaping.
By following these detailed steps for cleaning your vape, you can ensure optimal performance, hygiene, and longevity of your device. Incorporate regular cleaning into your vaping routine to enjoy a clean and satisfying experience every time.


Leave a comment